Forms and Tables
Labeled Form
Text Connects to Controls
A form becomes understandable as each label and control is connected with matching for/id values.
Program
HTML form controls are not just boxes. Labels and attributes tell the browser how controls should be named and submitted.
labeled_form.html
Visuals: captured from real browser rendering
<form action="/subscribe" method="post">
  <label for="email">Email</label>
  <input id="email" name="email" type="email">
  <button>Subscribe</button>
</form>
Create a POST form.
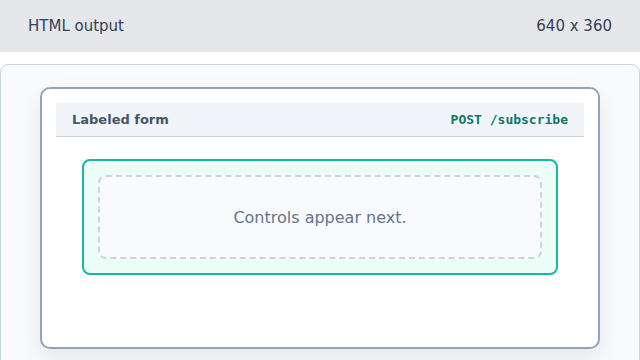
The form element defines where and how submission happens. Add the visible Email label.
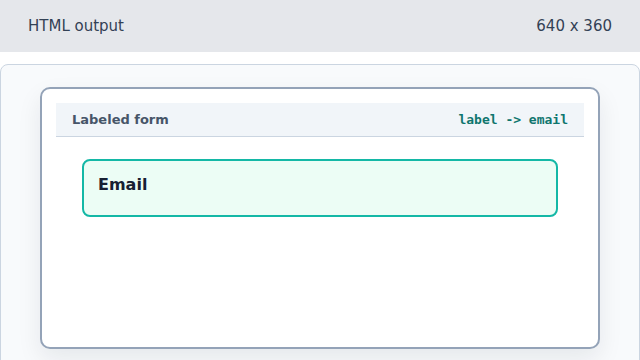
The for attribute points at the future control id. Add the email input control.
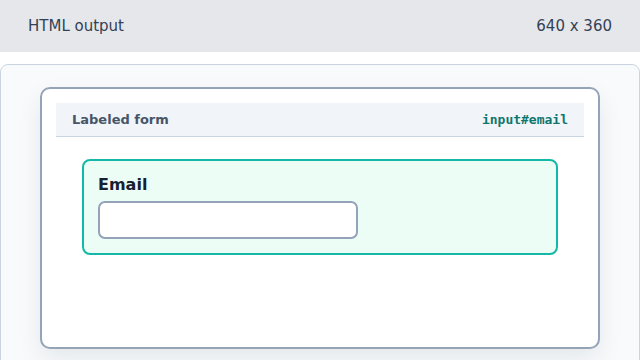
The input id matches the label for value. Give the submitted value a name.
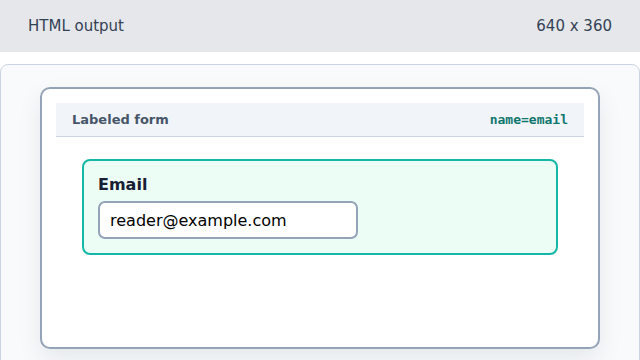
The name attribute is the submitted field key. Add the submit button.
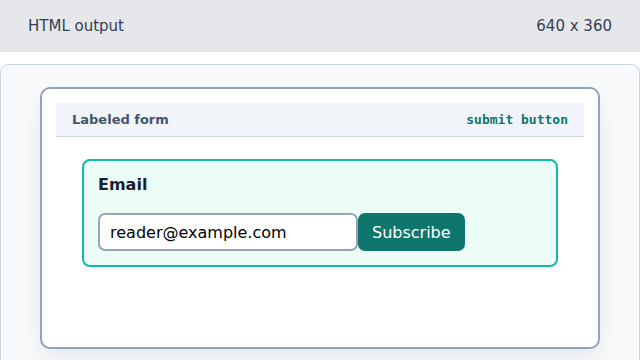
The button gives the user a visible submit action.
label
A label gives a form control a visible and accessible name.
name
The name attribute is the key sent when a form is submitted.